Servomotor
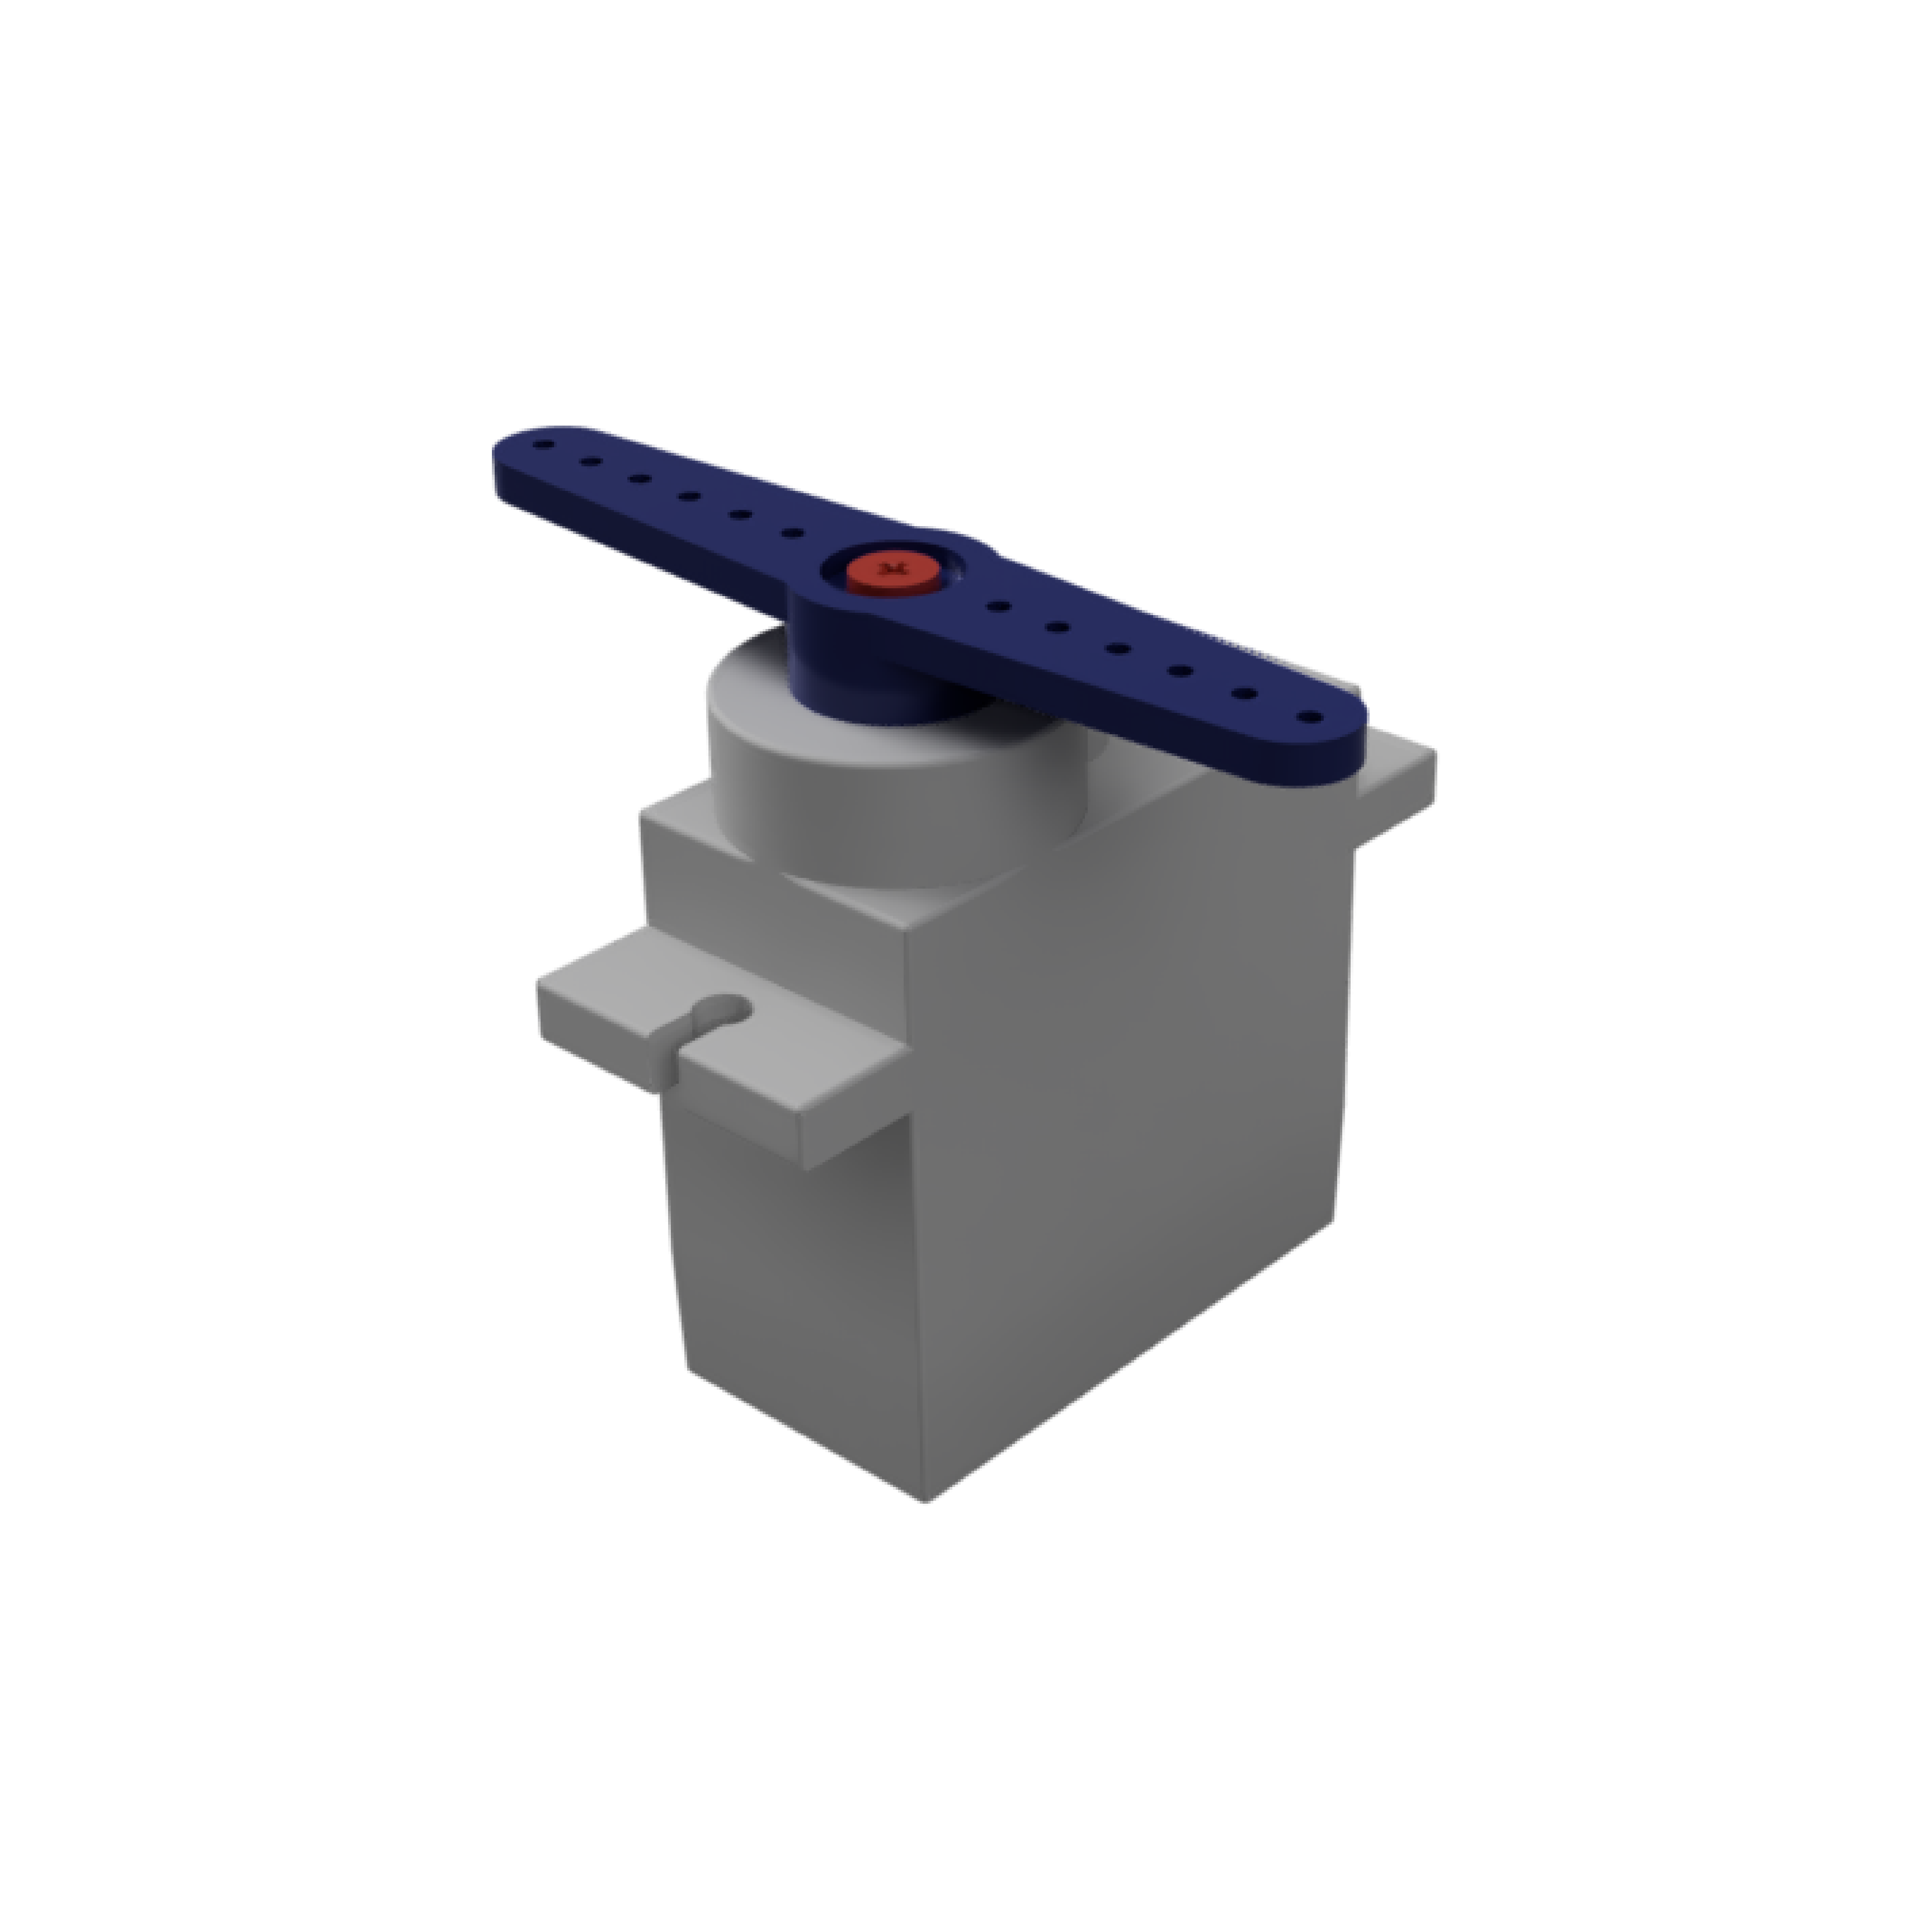
The Joy-Car is equipped with two servomotors, both of which can be connected directly to the mainboard. These servomotors offer an additional option for adding moving components to the Joy-Car.
A typical example of the use of a servomotor is the control of an ultrasonic sensor. The servomotor can be used to rotate or angle the sensor in order to measure obstacles or distances in different directions. This extends the functionality of the Joy-Car and makes it more versatile in applications such as obstacle avoidance or free driving.
Similar to the headlights, servomotors are controlled using PWM (pulse width modulation) signals. These signals make it possible to precisely control the position of the servomotors by varying the width of the pulses. You can find more information on how PWM works and how it is used here.
Control servomotor

The two optional servomotors can be controlled and set at an angle between 0 and 180 degrees.
Code example
JoyCar.initJoyCar(RevisionMainboard.OnepThree)
basic.forever(function () {
    JoyCar.servo(1, 0)
    JoyCar.servo(2, 180)
    basic.pause(1000)
    JoyCar.servo(1, 90)
    JoyCar.servo(2, 90)
    basic.pause(1000)
    JoyCar.servo(1, 180)
    JoyCar.servo(2, 0)
    basic.pause(1000)
})Setup Servomotor
To control the servomotors with a micro:bit, pin 1 and pin 13 are configured for control. The analog period is set to 10 microseconds (corresponds to 100 kHz), which is suitable for most servo motors.
# Set up pins for servomotor
pin1.set_analog_period(10)
pin13.set_analog_period(10)
Servomotor control
The servo method is used to control the servomotors of the Joy-Car. The channel parameter is used to specify which servomotor is to be controlled and the position parameter is used to define the target position of the servomotor in degrees, in the range from 0 to 180 degrees.
At the start of the method, the system checks whether the specified position is within the permissible range. If the position is outside the interval from 0 to 180, a corresponding error is returned. A PWM signal (pulse width modulation) is then generated for the selected channel, which defines the desired position of the servomotor. This signal controls the length of the pulses. This method ensures that the servomotor moves precisely to the required position.
# Method for changing the position of servomotors
def servo(channel, position):
    # Method for scaling from 0-180 (°) to 100-200 (us)
    def scale(num, in_min, in_max, out_min, out_max):
        # Return the value rounded to a whole number
        return (round((num - in_min) * (out_max - out_min) /
                (in_max - in_min) + out_min))
    # Check whether the position is within the range
    if position < 0 and position > 180:
        return "position not in range"
    # Send position to the selected channel
    if channel == 1:
        pin1.write_analog(scale(position, 0, 180, 100, 200))
    elif channel == 2:
        pin13.write_analog(scale(position, 0, 180, 100, 200))
Code example
# Import necessary libraries
from microbit import *

# Define your Joy-Car mainboard revision
joycar_rev = 1.3

# Set up pins for servomotor
pin1.set_analog_period(10)
pin13.set_analog_period(10)

# Method for changing the position of servomotors
def servo(channel, position):
    # Method for scaling from 0-180 (°) to 100-200 (us)
    def scale(num, in_min, in_max, out_min, out_max):
        # Return the value rounded to a whole number
        return (round((num - in_min) * (out_max - out_min) /
                (in_max - in_min) + out_min))
    # Check whether the position is within the range
    if position < 0 and position > 180:
        return "position not in range"
    # Send position to the selected channel
    if channel == 1:
        pin1.write_analog(scale(position, 0, 180, 100, 200))
    elif channel == 2:
        pin13.write_analog(scale(position, 0, 180, 100, 200))# Method for changing the position of servomotors

while True:
    # Set servomotor on channel 1 to 0°
    servo(1, 0)
    # Set servomotor on channel 2 to 180°
    servo(2, 180)
    sleep(1000)

    # Set servomotor to 90° on both channels
    servo(1, 90)
    servo(2, 90)
    sleep(1000)

    # Set servomotor on channel 1 to 180°
    servo(1, 180)
    # Set servomotor on channel 2 to 0°
    servo(2, 0)
sleep(1000)Control servomotor
The two optional servomotors can be controlled and set at an angle between 0 and 180 degrees.
Code example
JoyCar.initJoyCar(RevisionMainboard.OnepThree)
JoyCar.initController(ControllerType.Calliope)
basic.forever(function () {
    JoyCar.servo(1, 0)
    JoyCar.servo(2, 180)
    basic.pause(1000)
    JoyCar.servo(1, 90)
    JoyCar.servo(2, 90)
    basic.pause(1000)
    JoyCar.servo(1, 180)
    JoyCar.servo(2, 0)
    basic.pause(1000)
})