The basics are now done and you can now create your own program sequences with MakeCode. But to control your Joy-Car you need the instruction blocks from the Joy-Car extension. On this and the following pages we will show you every single function of our extension and explain how it works. We will now start with the engines. The motors are the drive of the Joy-Car. With them you can move the Joy-Car back and forth, drive at different speeds, turn and brake. The two servo motors can also be controlled in this category.
Drive
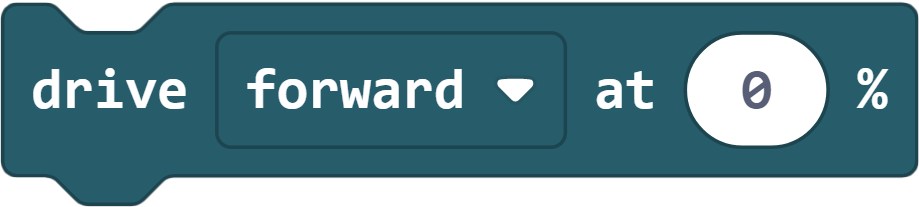
Move forward or backward. You can also choose the speed in percent between 0 (no drive) and 100 (maximum drive).
Brake

Brake the Joy-Car to a standstill. Here you can also choose between a hard emergency brake or a soft brake where the joy-car rolls out slowly.
Turn
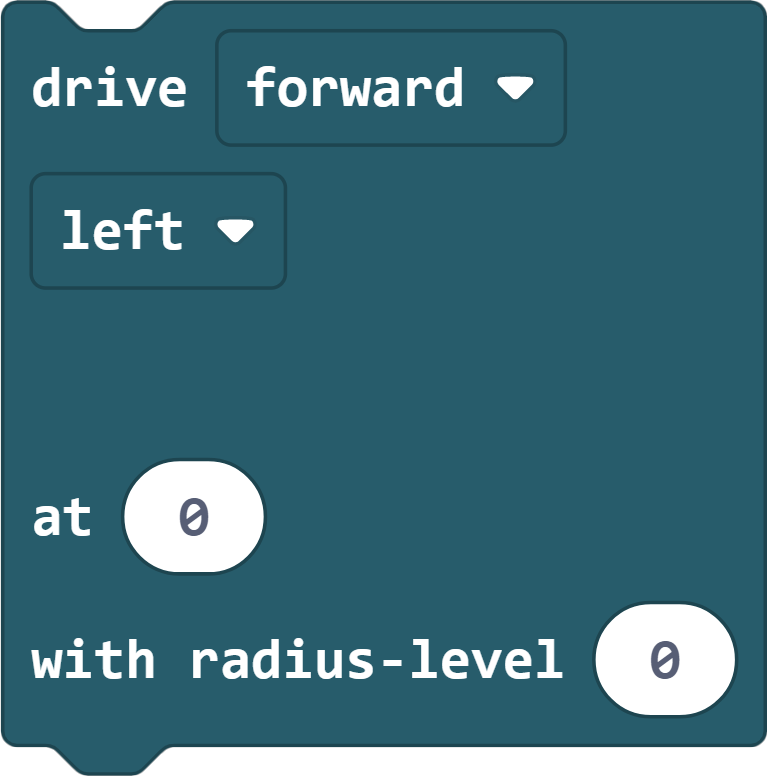
Take a left or right turn. Here you can also set the speed in percent. Additionally you can set the radius level of the curve from 0 - 5 (0 = tight curve, 5 = wide curve).
PWM-Signal
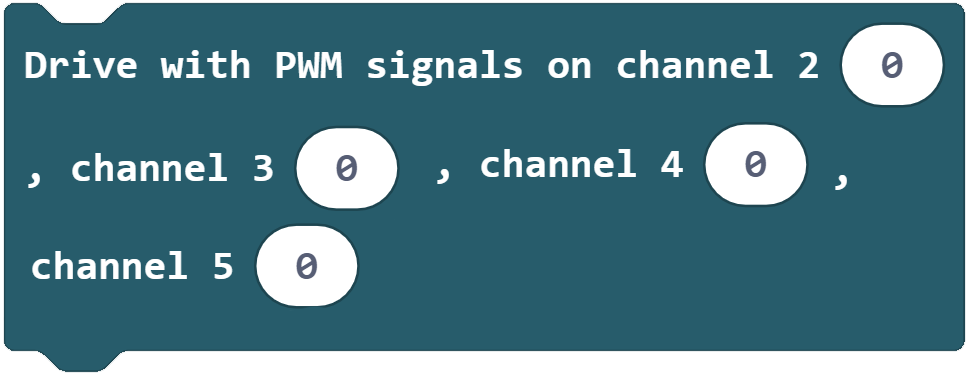
The motors can also be controlled directly via PWM signals. For this purpose a PWM value between 0 and 255 can be sent to each channel.
Servomotors

The two optional servo motors can be controlled and set at an angle between 0 and 180 degrees.
Motor delay
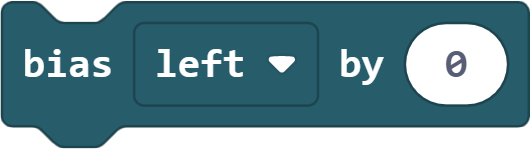
Due to manufacturing tolerances, it may happen that the two motors do not rotate at exactly the same speed. With this you can set a permanent deceleration of one motor in percent.
MOTORS - EXAMPLE 1
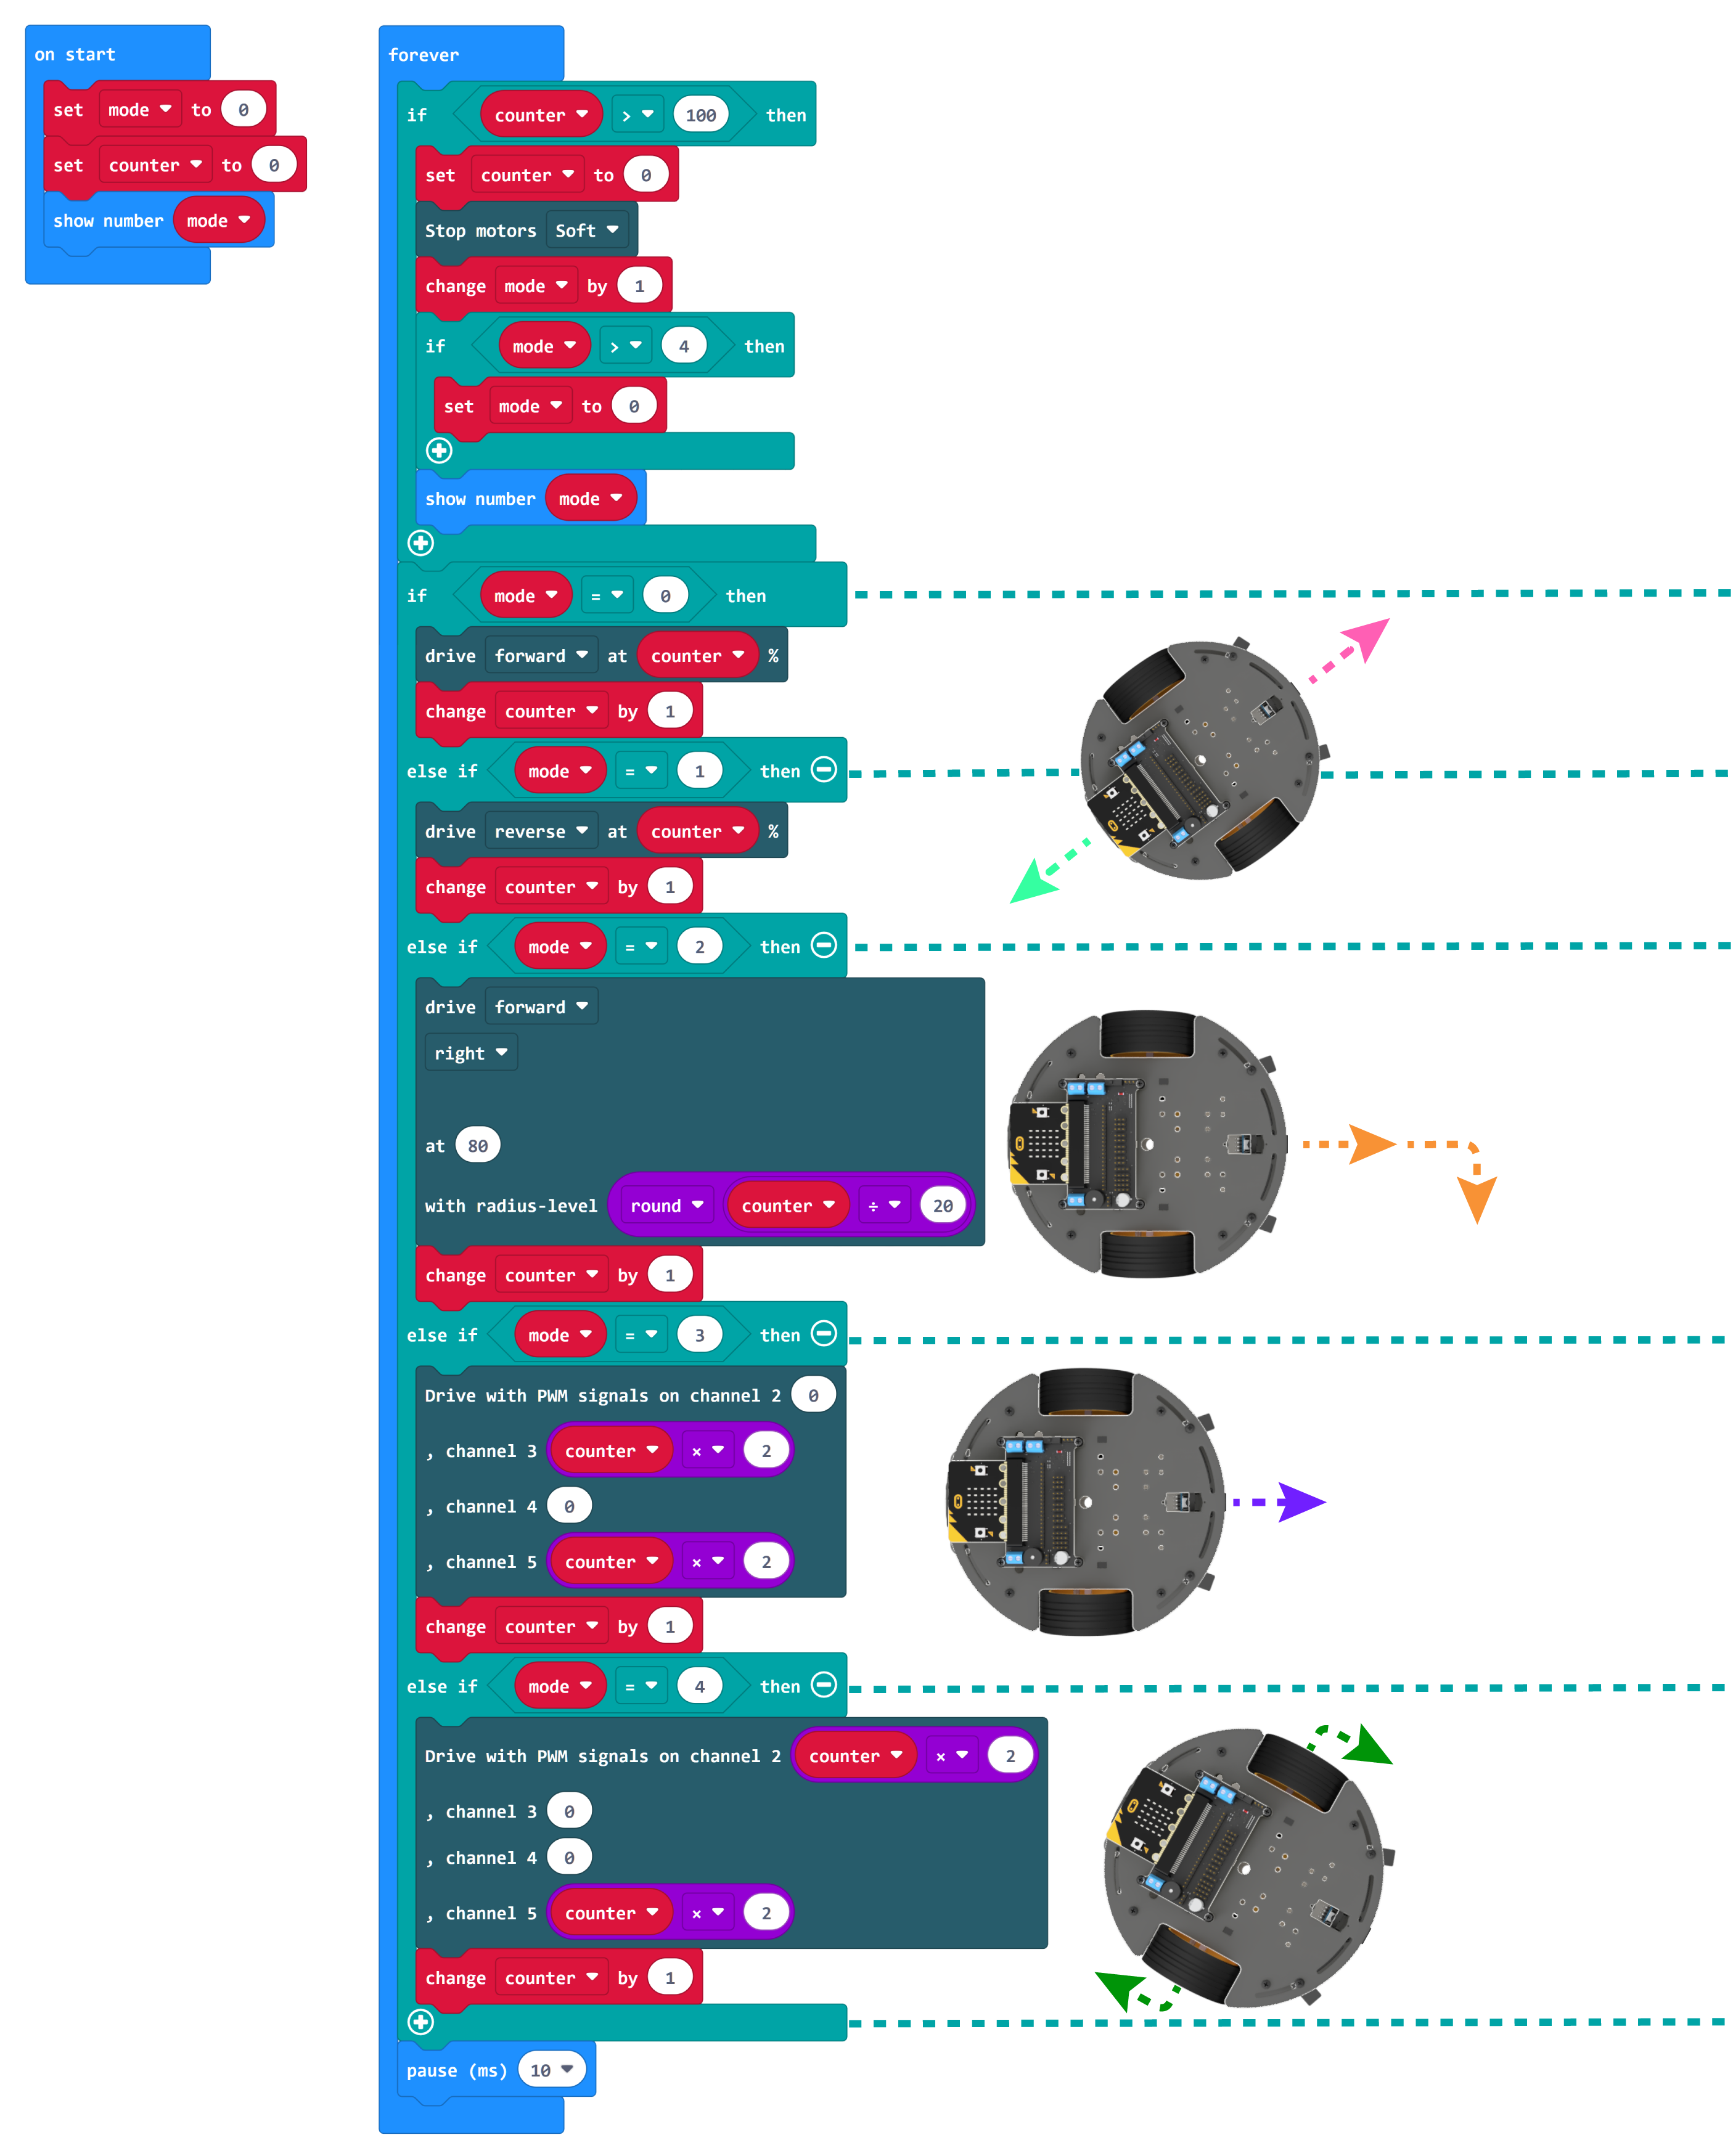
This sample code is only intended to show you the function of the different blocks in the motors section.
In this example, the variable counter is incremented permanently up to a value of 100. If a value greater than 100 is reached, the value for the variable counter is reset to 0, the motors are stopped and the variable mode is increased by 1. If mode becomes greater than 4, this variable is reset to 0 and the demo starts again.
counter is used for the speed in the motor functions. With mode the different motor functions are demonstrated (0 = drive forward; 1 = reverse; 2 = right turn forward; 3 = PWM block forward; 4 = turn PWM block around its own axis). To be able to see which part of the code is currently running, the LED matrix of the micro:bit shows the current mode.
Since 100 is the maximum setting for the speed, we stop a run of the variable counter if it is greater than 100. In this case we reset the variable counter to 0 and increase the variable mode by 1 to switch to the next mode.
BIAS - EXAMPLE 1
Since, for production reasons, not every motor runs at exactly the same speed, it can happen that the joy car does not go straight ahead, but always makes a wide curve. To compensate for this, we made the block bias. With the help of this block you can, for example, if your Joy-Car drives a long left turn (i.e. the left wheel turns a bit slower), the right wheel will slow down for all driving commands. The best way to do this is to insert the block in "on start".
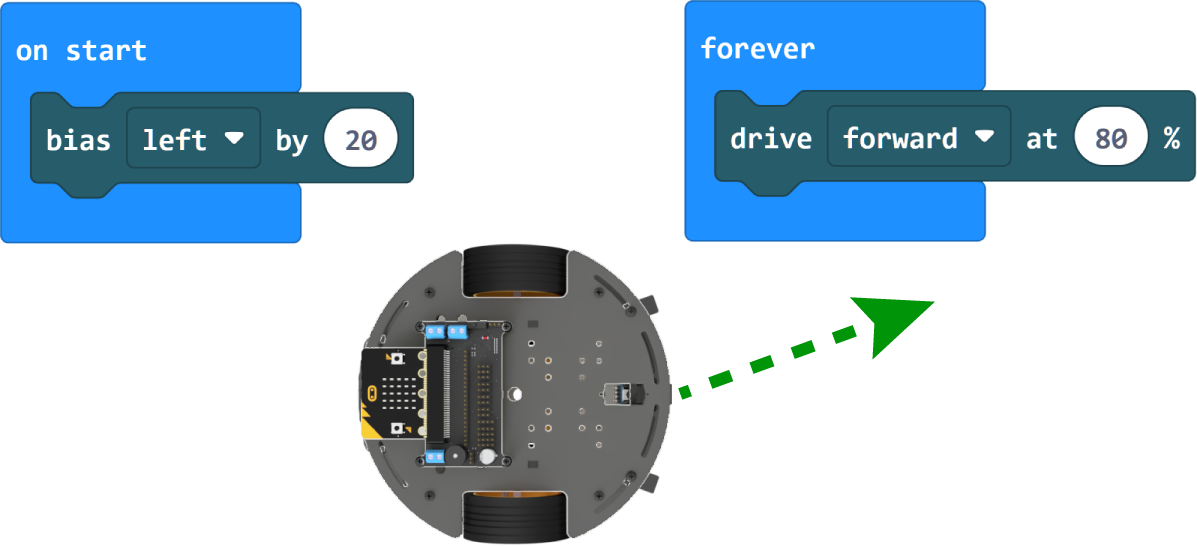
This example demonstrates the functionality of bias. In "on start" the left motor is permanently delayed by 20%. After that, both motors are driven with a speed of 80%. You should now be able to see that the left motor runs significantly slower than the right motor.
BIAS - EXAMPLE 2
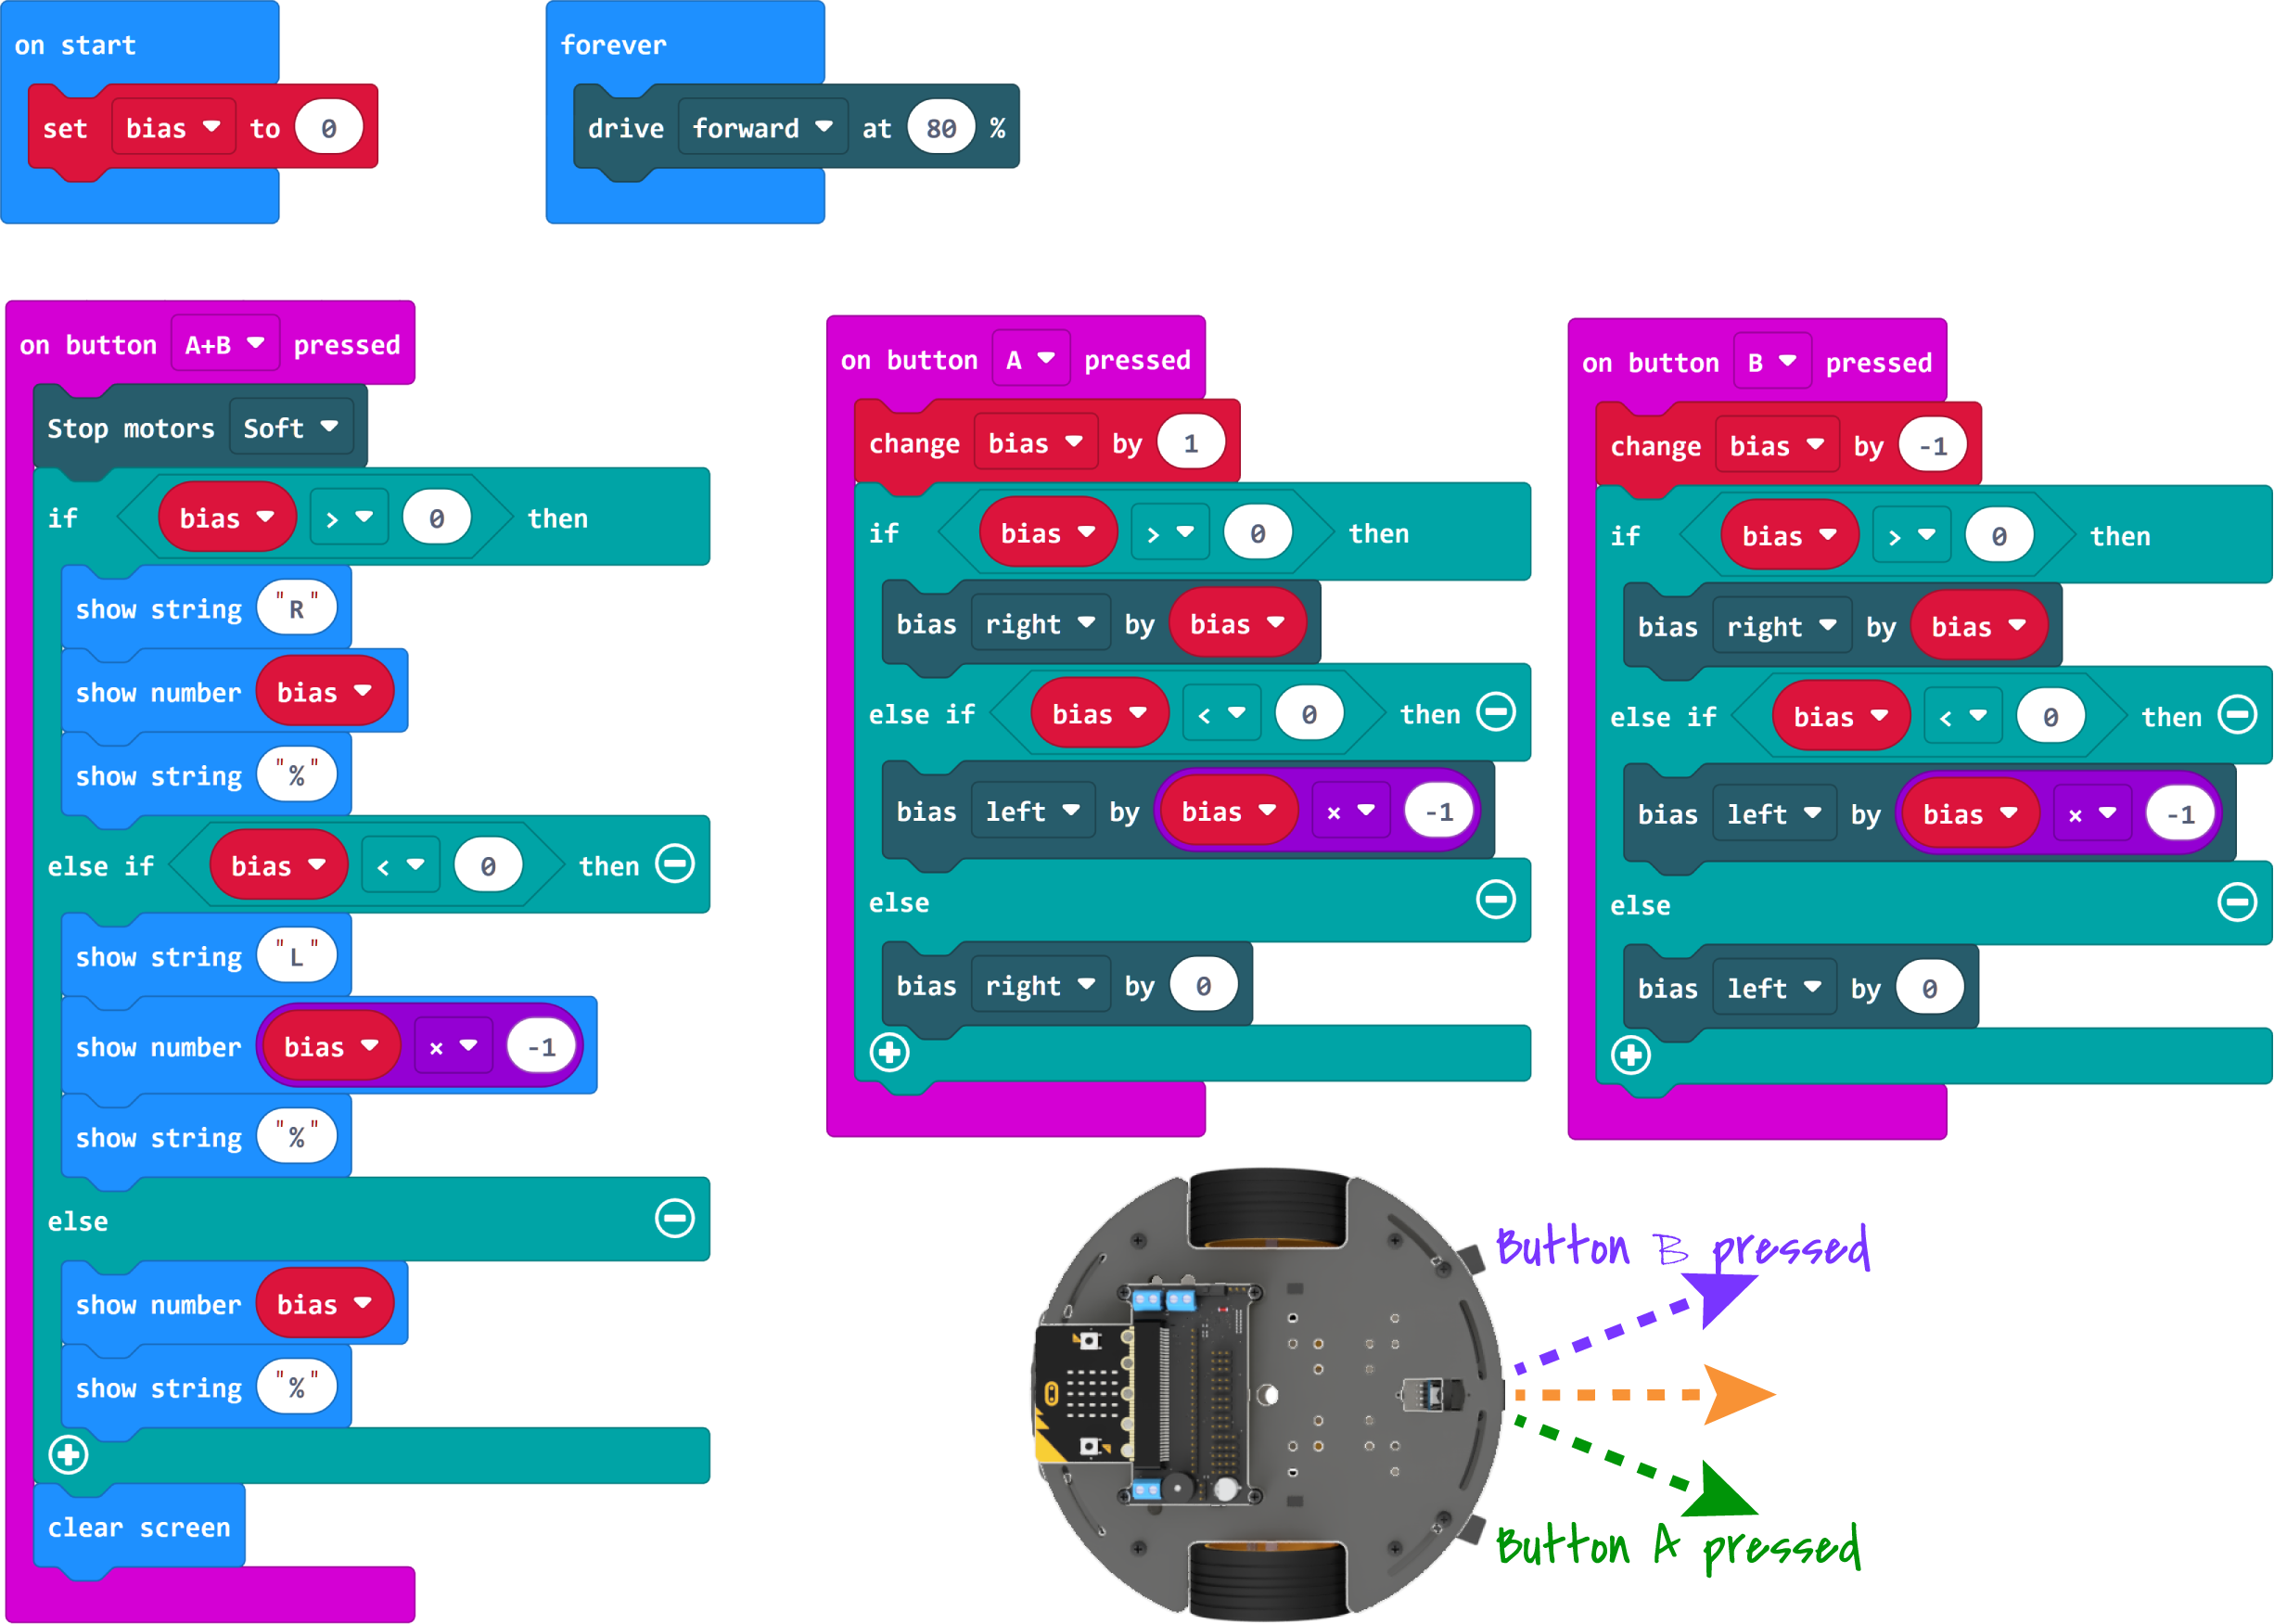
This code is to help you in case your joy car does not drive straight ahead. In this example, the bias can be set manually by using the two buttons A and B for the respective side. This is done in 1% steps. The current setting can also be displayed by pressing the two buttons simultaneously.
Load this code onto your joy car and let it drive. For example, if you are driving a long left turn, press button A until your joy car is driving straight. If you have pressed too often that your joy-car is now driving a right turn, this is no problem. Now you can reduce the bias with button B. When you have found the point where your joy car is driving straight ahead, you can press buttons A and B at the same time to see the current bias value. You can use this value for future projects.
If your joy car makes a right turn, the procedure is the same. You only have to press button B to slow down the left motor.